
This last weekend, I went back to KZN for Frosty's birthday on the farm. We had an awesome dinner and get together with some of his family and friends and he got some awesome presents. But I think the present that will keep him busiest was a chicken called Cheesecake, so named by the lovely gift-giver, Shells. According to one of the guys with us, it's a Black Australorp chicken and Frosty is hoping that it turns out to be a girl so he can have eggs for breakfast every morning, maybe he'll even get a few more so he can invite friends over for breakfast!
Anyway, even though this little chick came in the most beautifully decorated gift box, we decided it needed a bit more room to grow and jump around and thus we decided to build an
Awesome (Tiny) Chicken House
Ingredients
1 x baby chicken (or a few more if you like)


1 x plastic box (with a lid)


1 x brick with hole in the middle for water
1 x plank of wood, similar in size to your brick


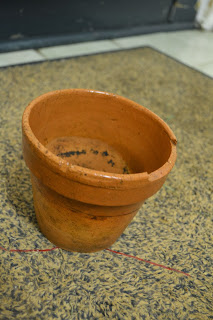
1 x small flower pot

1 x piece of large paper (newspaper works)
a few handfuls of paper cuttings, sawdust, wood shavings or grass
2 x small glass bowls
1 x pen
some water and baby chicked food (we used future life)
Tools
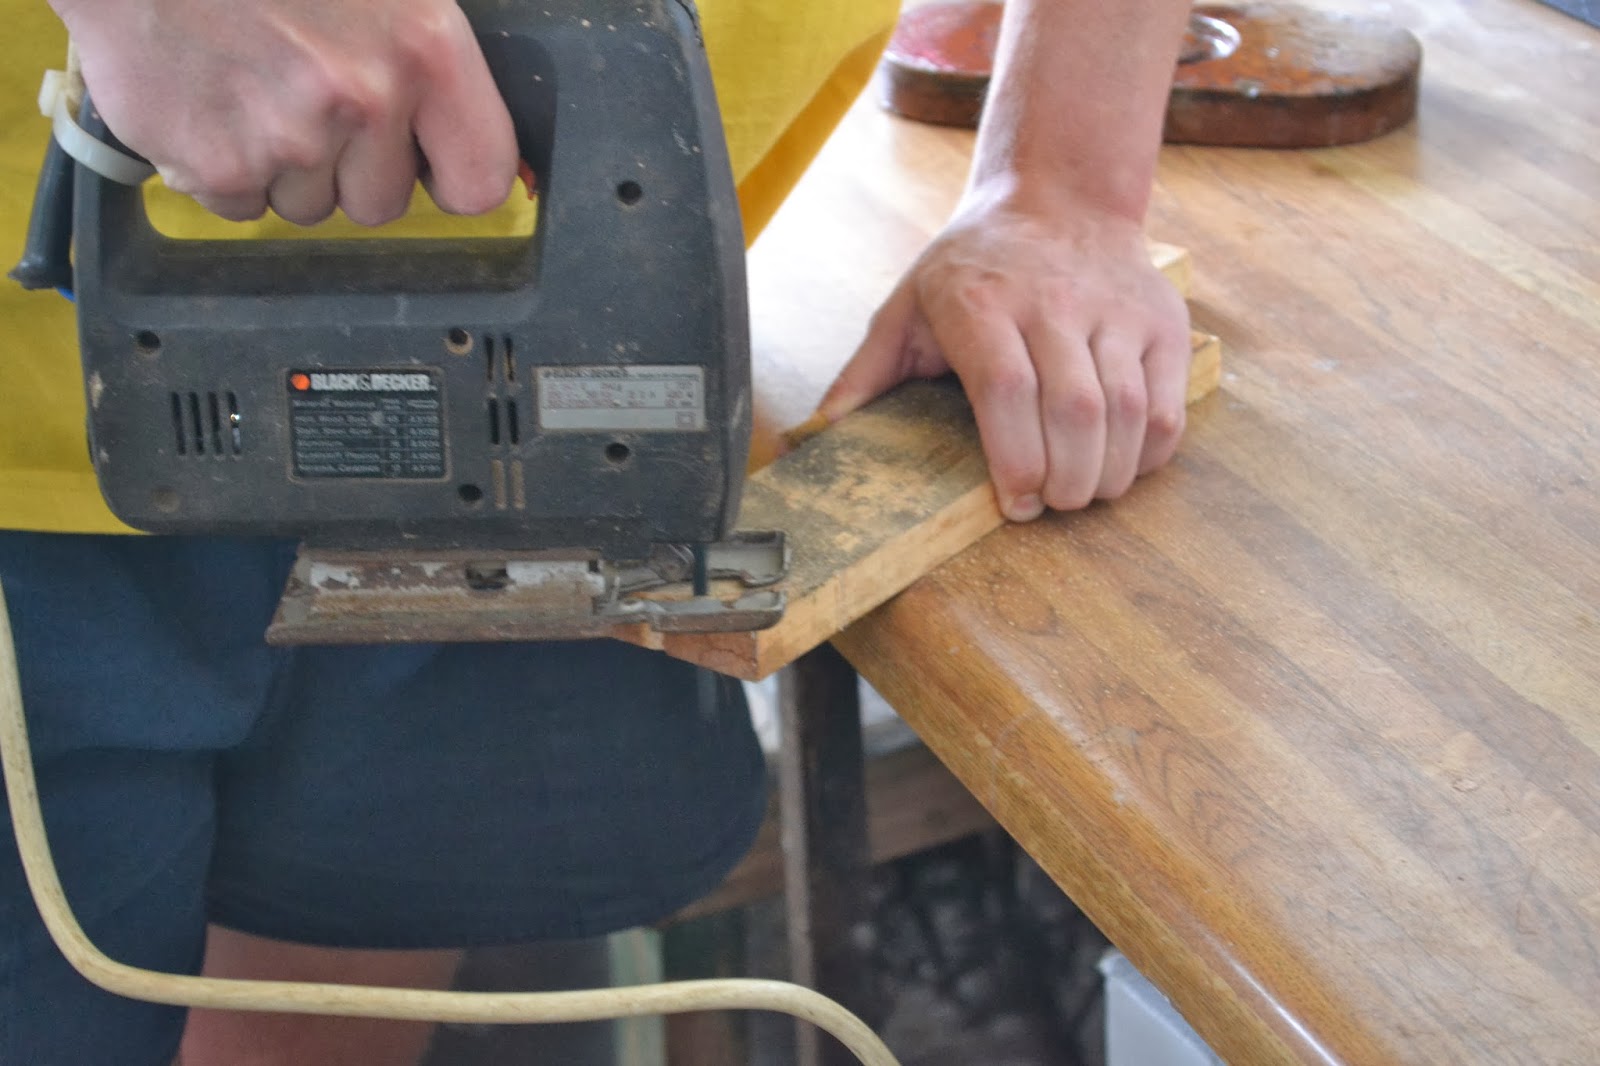
1 x jig saw


1 x hole saw (attaches to your drill)


1 x sander (with sandpaper, you could just use sandpaper as well, it just takes longer)

1 x boyfriend who is willing to show you how to use power tools :)


Method
- Wash your box, box lid, flower pot, little glass bowls and brick (just a rinse to clean off any dirt that may have accumulated while they were sitting in the garden, gathering dust). Leave them to dry.
- Put the wood plank over the brick and mark out where you'll be cutting it.
- Take the jig-saw and cut where you marked out.

- Take the hole saw and drill away two holes - make sure that your 2 glass bowls will fit into the holes you've drilled! (You can use the cores to make cool Christmas decorations!)

- Use the sander to sand away all the splinters on your feed holder.
- Put everything into the box as illustrated below and voila - your new Awesome (Tiny) Chicken House!


I've decided that I quite enjoy using power tools (even though I'm an engineer, most of the power tool stuff is done by my artisans) and so if anyone has any suggestions for other cool projects involving power tools, send them through!
* We weren't using any safety gear here - ideally you should wear goggles and ensure all your pieces you're working with are secured with clamps to minimise risk of injury!
* We weren't using any safety gear here - ideally you should wear goggles and ensure all your pieces you're working with are secured with clamps to minimise risk of injury!
No comments:
Post a Comment