Showing posts with label Projects. Show all posts

Sunday, 19 July 2015

Life Lately

Hey everyone. I can't believe it's already more than half way through July and I've only posted 2 (ok, this counts as 3) blog posts. Life has been quite busy lately. I had an epic birthday a few weeks ago now and feel so incredibly blessed that I was able to share an awesome pre-birthday day with both family and friends together - something that doesn't happen often when you live and work far from where you grew up.

At work, we had a pretty intense testing phase of our project a few weeks back (known as FAT - Factory Acceptance Testing) which ran smoothly. There were a few bugs and a few smaller features that we identified as useful to the client, which is normal for these types of projects. But we didn't find anything hugely wrong while we were testing, which is really great news for us. After 6 months spent putting together specifications and another 6 months developing what we had specified, it would have been worrying if we had found major issues. So, so far so good on that front.

Otherwise, Frosty and I have been busy carrying on with two online courses*. The one is a basic programming course and I would definitely recommend it to anyone who is interested in learning how to program but unsure of where to start. It teaches you how to program using the Python programming language and has great videos and explanations on the basics of programming concepts. Remember the Photo Renaming Program I mentioned a while back? Well, I used Python to program it, and in some of my spare time I've added in some extra features. I'm hoping in the next few weeks to be able to share the improved Photo Renaming program with you, so watch this space! While I'm at it, if you have a better name for it than "Photo Renamer" please leave a comment below, I'd love a slightly more pretty name!

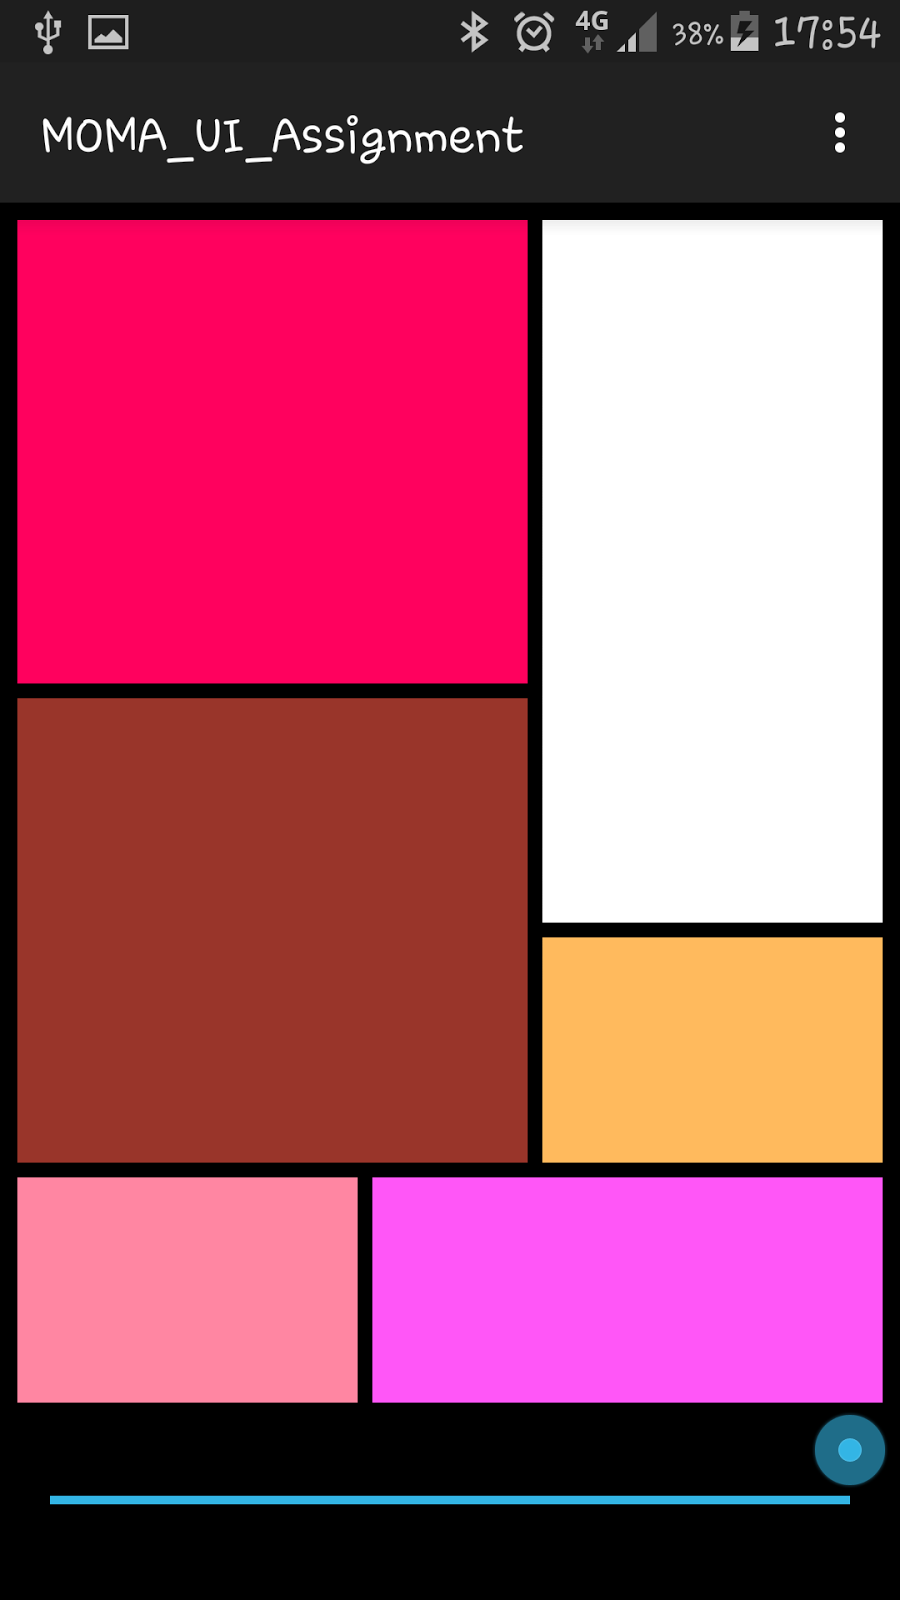
The other course we've been doing is really cool and I hope will be useful for future endeavours - it's an Android App programming course and this weekend our course project is due. We've had to create a simple app that changes squares of colours on the screen depending on the position of a slider. See in the two pictures above, how in the left image, the slider is on the left hand side and the right hand image, the slider has been slid all the way to the right hand side. I did that! And, those are screen shots from my actual phone. There's also a video that you can see, just click here. For most people, this probably wouldn't be that interesting or exciting, but I beg to differ! It's the start of actually being able to program an app, which is awesome! We've had to create apps from a blank canvas which has been a good way of consolidating the last few weeks worth of learning to make sure we actually understand what's going on in the course.

Keep an eye out for my second Quote of the Week which will be posted at some stage next week. It's a new feature that I'm starting to help keep me blogging more - so I hope you enjoy it! Here's the first one, for those who missed it. Don't forget you can follow me on Instagram as I will also be posting the quotes there.

Which is probably part of the reason that I haven't had as much time to dedicate to blogging as usual recently.


~~~~~ Follow Practical Cookie ~~~~~
~ Twitter ~ Facebook ~ Pintrest ~ Instagram ~

Saturday, 18 July 2015

Project Video Programming Mobile Applications for Android Handheld Systems

Video of final project for the course Programming Mobile Applications for Android Handheld Systems.

I added in an extra feature, just for fun - that of being able to change the colour of the top left block from red to blue, or blue to red.


~~~~~ Follow Practical Cookie ~~~~~
~ Twitter ~ Facebook ~ Pintrest ~ Instagram ~

Tuesday, 24 February 2015

How to Rename Picture Files in Bulk Version 1

Development work over the weekend while I was checking that my program worked!
Over the weekend I told you that I had been working on a little project that I was almost ready to share with you and today I'm excited to announce that version 1.0 is finally ready! Now I need your help...

As you should by now know, I take a lot of photos. And I like having photos for a specific event labelled by name. So if I take 500 photos at my birthday party and I want to label them something along the lines of "Caths Birthday 1" all the way through to "Caths Birthday 500". I also want them to be sorted from lest recent photo at number 1 to most recent photo at number 500 (so that I can start looking through my pictures at number 1 and they follow the sequence of photos as they happened). It's also better for blogging to upload more descriptive photos than DSC_0010.jpg. 

I know some photo processing programs do this for you, but I wanted a way to do this by means of a small program dedicated to this. And so I decided to create a program to do this. I've called it "Bulk File Renamer", but if anyone has any better suggestions, please comment below!

I've decided that I want to give you access to this and so I've put this on a public google doc. If you would like to download this FREE program - please click on this link and download the folder named "Bulk File Renamer.zip".

To get started, follow my instructions below:

1. Download the zip file called "Bulk File Renamer.zip" if you haven't done this already.

2. Go to the downloaded zip file "Bulk File Renamer.zip" and right click on it. Select the option to Extract All and when the window pops up asking where you want to extract the files to, specify that you want to extract them to "C:\Program Files". You can also specify "C:\Program Files (x86)" if there is no Program Files folder.

3. Open the Bulk File Renamer folder that is now located in the Program Files folder and copy the file labelled "Bulk_Renamer_App - Shortcut" and paste it to your desktop.

4. Double click on the Bulk_Renamer_App - Shortcut and a screen like the one below should pop up. 


App to rename pictures in bulk

5.1 If you want to rename all pictures in your a particular folder, click the blue "Choose Folder" button and navigate to the folder of pictures you want to rename, when that folder is highlighted, click on OK. The blue button should now say "Folder: <your folder>" where <your folder> is the name of your folder.
App to rename pictures in bulk
After clicking on the blue "Choose Folder" Button
I navigated to my "Test Photos" folder.
I clicked on it once and then clicked on OK.
See my text has changed from "Choose Folder" to
"Folder: Test Photos".
App to rename pictures in bulk
After entering in your details and clicking on the
green "Rename" button, a window pops up telling
you when the action has completed and how
many files were renamed.
5.2. If you want to rename only certain pictures in a particular folder, click the blue "Choose Files" button and navigate to the folder of pictures you want to rename, select the individual pictures (hold down the "Ctrl" key to select more than one picture at a time) and then click on OK.


App to rename pictures in bulk
After clicking on the blue "Choose Files"
button, I selected 3 files I wanted to rename.
Note the text changes from "Choose Files"
to "3 files chosen" since I chose 3 files
that I wanted to rename
App to rename pictures in bulk
After entering in your details and clicking on the
green "Rename" button, a window pops up telling
you when the action has completed and how
many files were renamed.
6 In the "Text Rename" text box, enter in the description you would like all photos to be renamed to. (eg: December Holiday 2014, or 20150201 - Trip to KZN etc).

7. After performing action 5.1 OR 5.2
In the "Starting Number" text box, enter in the number to start at. This defaults to 1 if you leave this field blank. If you decide you rather want to rename these photos start at number 257, then type 257 into the text box.


8. Click the green "Rename" button. Once the program has finished renaming all your files, a notification box will pop up informing you once the file rename has been completed. If there is already a file of a particular name existing in the folder, it will not rename this file and will leave that file with it's original name and move on to the next file.

9. When you've finished all your photo renaming tasks, click the red "Quit" button, or the cross at the top right corner of the window to close the app.

Once you've done all of this, please let me know if it worked or not by commenting below, sending me an e-mail or posting on my facebook page. I would like to improve this, but I can only do this with your feedback. If there are any features that you think would be useful or beneficial, please mention those too.

The renaming facility should work on all files, however I haven't tested the "sort by date" functionality on non-image files. I'll be working on this on my next version of this program. If you test this out and it works, or doesn't work, please comment below to let me know (include what files you tested with - word, excel, powerpoint etc).


~~~~~ Follow Practical Cookie ~~~~~
~ Twitter ~ Facebook ~ Pintrest ~ Instagram ~

Thursday, 19 February 2015

Collaboratory Tools - Working Remotely

My job involves quite a lot of interacting with people across multiple cities in multiple continents in multiple time-zones. This is really exciting, but it also means that sometimes traditional working tools just don't make the cut. Microsoft Word is great...until you're e-mailing the same document back and forth multiple times per day with multiple edits, trying to keep track of who changed what. So here's some suggestions on useful tools, websites and cloud-based applications that I use in order to ensure project success.
  • World Time Buddy - great for figuring out time-zone differences in order to schedule meetings at times that are appropriate for everyone (or almost everyone).
  • Smartsheet - think of project planning tools and you will most probably think of something clunky and difficult to use. Smartsheet is the complete opposite - easy to use and the ability to share it with colleagues anywhere. The plan is stored in one place, but can be edited (or just viewed) by multiple people at one time.
  • Google Docs - again, this is really useful for ensuring that there is only one copy of something, but with the ability for multiple editors (and/or viewers). The Google equivalent of MS Word and MS Excel.
  • Skype - great for clarifying something with a quick skype message or skype call. And if you have a good enough internet connection, it's lovely to be able to see the person you're talking to's face.
  • MS Lync - similar to Skype, which we have used for many of our meetings.
  • KeePass - a password management tool. You can have one file and use it to keep track of all your passwords. Or you can have different files for different "categories" or aspects of your personal or business life, that you need to keep track of.
  • Color-Hex - When specifying colours in coding, it's often difficult to know what a colour is, this is where this website comes in handy - it gives you "computer-readable" colour definitions so you can define which colours you want to use while you're programming.
Have you used any of these or do you have any other useful tools to add to this list?


~~~~~ Follow Practical Cookie ~~~~~
~ Twitter ~ Facebook ~ Pintrest ~ Instagram ~

Wednesday, 10 September 2014

Conference Call Reality

Part of my job involves conference calls. And when I say conference calls I don't mean a half hour catch up with my boss who is working from home. I mean 2-4 hour long discussions with people on multiple continents discussing 
requirements and brainstorming useful functionality for clients. 

If you take part in conference calls as a normal part of your working life, I'm sure you'll appreciate this as much as my whole office did when we were shown this clip a few weeks ago!


And, just for fun, another clip on what happens when you're trying to specify something using concepts that people don't fully understand...
The caption reads "Funny business meeting illustrating how hard it is for an engineer to fit into the corporate world!" which is pretty accurate as well.


~~~~~ Follow Practical Cookie ~~~~~
~ Twitter ~ Facebook ~ Pintrest ~ Instagram ~

Thursday, 19 June 2014

Italy - Work Highlights

I've been incredibly privileged to have been in Italy this week for work as part of one of the projects I've been working on. I'm here for a few more days, but I thought that I would share some of the highlights that I've experienced so far.


Savona Italy Harbour at night time
View from the Bridge a 5 minute walk from our hotel


  • Coffee in the French airport and talking philosophy with my colleagues (thus experiencing France without having to leave the airport).
  • A great walk along the Savona beachfront with my two colleagues.
  • Getting to meet, in person, all of the people that I have been talking to over the last two months or so for work.
  • Getting educated by Italians on coffee and the many intricacies that go along with it (it's taboo to have cappuccino after about 10am in Italy, as our UK team member found out!).
  • The sun staying up until well past 9pm - such a treat coming from the South African winter.
  • Mealtimes with Italians are times for eating vast amounts of food (think 6 courses!) and drinking lovely wine.
  • Laughing about the stereotypes of the different cultures and sharing a bit of the South African culture with my team members.
  • Convincing everyone to come and visit South Africa at some stage.
Our workshop is now finished and I have 2 and a bit days to see a bit more of Italy, so watch this space for some more updates!

Castle archway
Part of the Castle a 5 minute walk from our hotel


~~~~~ Follow Practical Cookie ~~~~~
~ Twitter ~ Facebook ~ Pintrest ~ Instagram ~

Sunday, 1 June 2014

A New Look!

Everyone, I'm sure by now you've realised that Practical Cookie has had a bit of a makeover. Welcome to the new look Practical Cookie. I now even have my own mascot!

For a while now, I've been mulling over how I can make Practical Cookie better and today I had an epiphany while trying to come up with logo designs - here's my initial sketch that I did of Practical Cookie (she's a Gingerbread girl) holding a paintbrush and hammer.

Practical Cookie Gingerbread Girl
Creative AND hands-on


 And just in case you've missed it, here's the final Practical Cookie mascot!
I first took a picture of her, using my phone. Then I used GIMP (a free image editing platform) to edit and tweak her a bit, until my final product came to fruition below.

Practical Cookie Gingerbread Girl Logo

I'm really excited about my new look blog. What do you think?


~~~~~ Follow Practical Cookie ~~~~~
~ Twitter ~ Facebook ~ Pintrest ~ Instagram ~

Tuesday, 15 October 2013

Post-Its and Papered Walls

I completed a 3 day planning workshop for a major, complex project we're about to launch at our factory. Wow. By the time we had finished, the pristine white sheets of paper that we had stuck over the walls and windows of our room had become littered with coloured post-it notes and kokie lines. I now view post it notes, markers and white sheets of paper stuck on walls in a whole new light.

I know a lot of people (especially a few of my girl friends) love to use post-its to place in their diaries, on their fridges and as quick thank you notes to friends. I've come to see this as a conventional use of post-its. 

This week, myself and the guys (yes, all the rest of the team were guys) spent time classifying and writing big tasks on post-its, then breaking up the big tasks into smaller tasks and writing them on post-its. Then breaking those tasks into smaller tasks on post-its. Each post-it had the task, name of person responsible, company, estimated duration and set of 3 or 4 filter "tags" written on it.

Hard at work writing post it notes
Then all the post-its were ordered according to logical sequences and processes and a temporary pencil line was added in to show the link between tasks. Each post it and all the accompanying information was then captured on to the computer as part of a database. During capturing, each note was given a corresponding number (according to the database number on the computer) and a red dot, to indicate it had been captured on the computer. Notes with a blue dot were used to indicate a delivery of something. Then processes were linked, and during this time, a blue line was drawn indicating links between the different tasks. By the end of our 3 day period, we had something looking like the below image and an ultra complicated project breakdown.


Discussing process and logic sequences

Part of our final project plan according to post-its

I've never been part of a big project planning session and this was an extremely enlightening exposure to an amazing project planning technique and tool. For the new people (like myself), our facilitator's aim was to ensure that we understood the project planning process so that going forward, we can facilitate other project planning sessions. I'm sure that I will be able to use this tool going forward, as it's applicable to all projects, not only engineering ones. However, this is only the beginning and our facilitator will have regular check-in sessions with us to track our progress and I'm sure there's still a lot to learn from him about the project planning process.


~~~~~ Follow Practical Cookie ~~~~~
~ Twitter ~ Facebook ~ Pintrest ~ Instagram ~